0. Overview of This Article
This article introduces the project setup method and SDK installation procedure for developing Meta Quest-compatible applications in Unity.
1. Creating a Unity Project
- Open Unity Hub and click on New project
- In the New project window, select the Unity version
*In this article, we use 2022.3.20f
*Android environment is installed during Unity installation - Select 3D Cross Platform(URP) from the templates
- Set the Project name in Project Setting
*In this article, we set it as MetaXR Samples

- Click on File -> Build Settings
- In the Build Settings window, select Android and click on Switch Platform
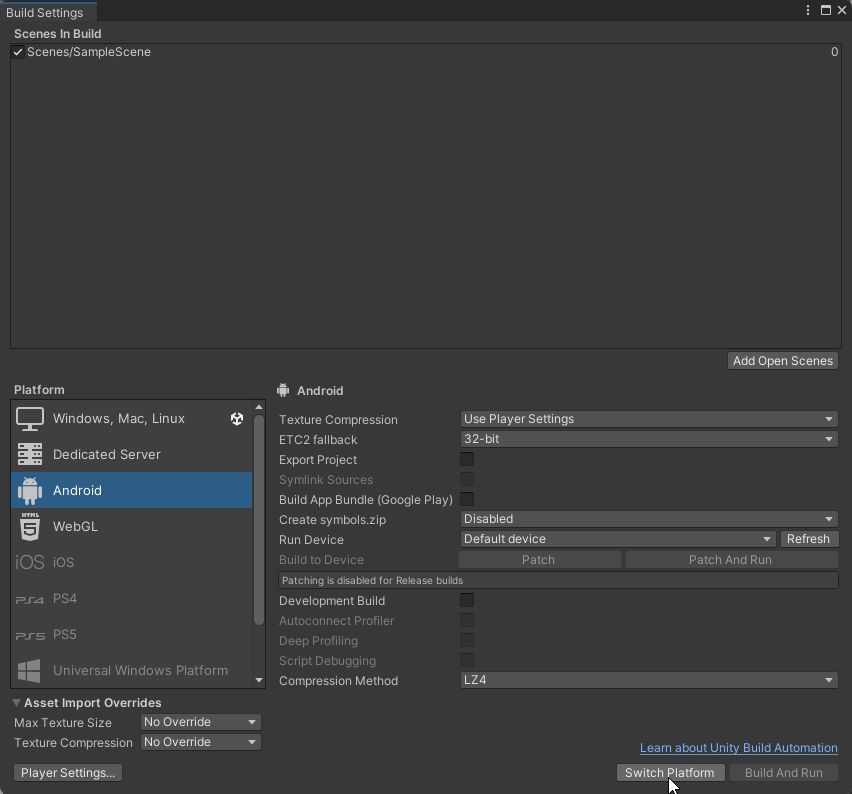
- Right-click on Scenes/SampleScene in Scene In Build to delete it
- Close the Build Settings window
2. Installing Meta XR SDK
- Open the Meta XR SDK page on the Asset Store and add it to My Assets
*Make sure to Sign In with your account on the Unity page beforehand - Return to Unity Editor and click on Window -> Package Manager
- Open the Packages in Project dropdown menu and click on My Assets (refer to the image below)

- Type Meta in the search area
- Select Meta XR All in One SDK and click Install
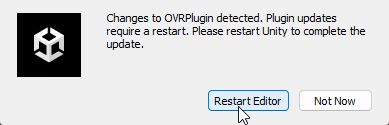
*Click Download first if you're using this asset for the first time - You'll be prompted to restart the Editor, so click on Restart Editor
- After restarting the Unity Editor, close the Package Manager if it's open
3. Project Configuration
- Open Edit -> Project Settings
- Click on XR Plugin Management in the Project Settings window
- Click Install XR Plugin Management

- Click on XR Plug-in Management again
- Select the Android tab and turn on Oculus
- If using MetaQuestLink (PC VR for Windows), also turn on Oculus from the Windows tab

- Click on Meta XR in the Project Setting window to open the Project Setup Tool
- Open the Android tab and click Fix All next to Outstanding Issues
- Apply the necessary settings from the Recommended Items
*Click Apply All if you find it tedious - If using MetaQuestLink, perform similar operations from the Windows tab
- Close the Project Settings window
- Click on Oculus -> Tools in the Unity Editor
- Click Create store-compatible AndroidManifest.xml
- If prompted for permission to overwrite, click Replace
4. Build Settings
This step is for setting a custom app name (package name). It's optional.
- Open Edit -> Project Settings
- Select Player
- Set Company Name and Product Name

- Select Android from the tabs displayed a little further down
- Turn off Override Default Package Name under Identification

5. Next Steps
The basic project setup is now complete with the steps above. Next, we'll discuss how to display 3D objects in VR.
6. Articles on Meta XR SDK